
Build · Tank
Reflect Wall Tank
Launch-week info, last checked . We update this page as patches and new data land.
B-tier tank pick
The reflect wall tank soaks damage by making it hard to land: it evades melee, deflects projectiles and sends 100% of the damage you take back at the attacker. It is the sturdy pick for boss fights and co-op front lines.
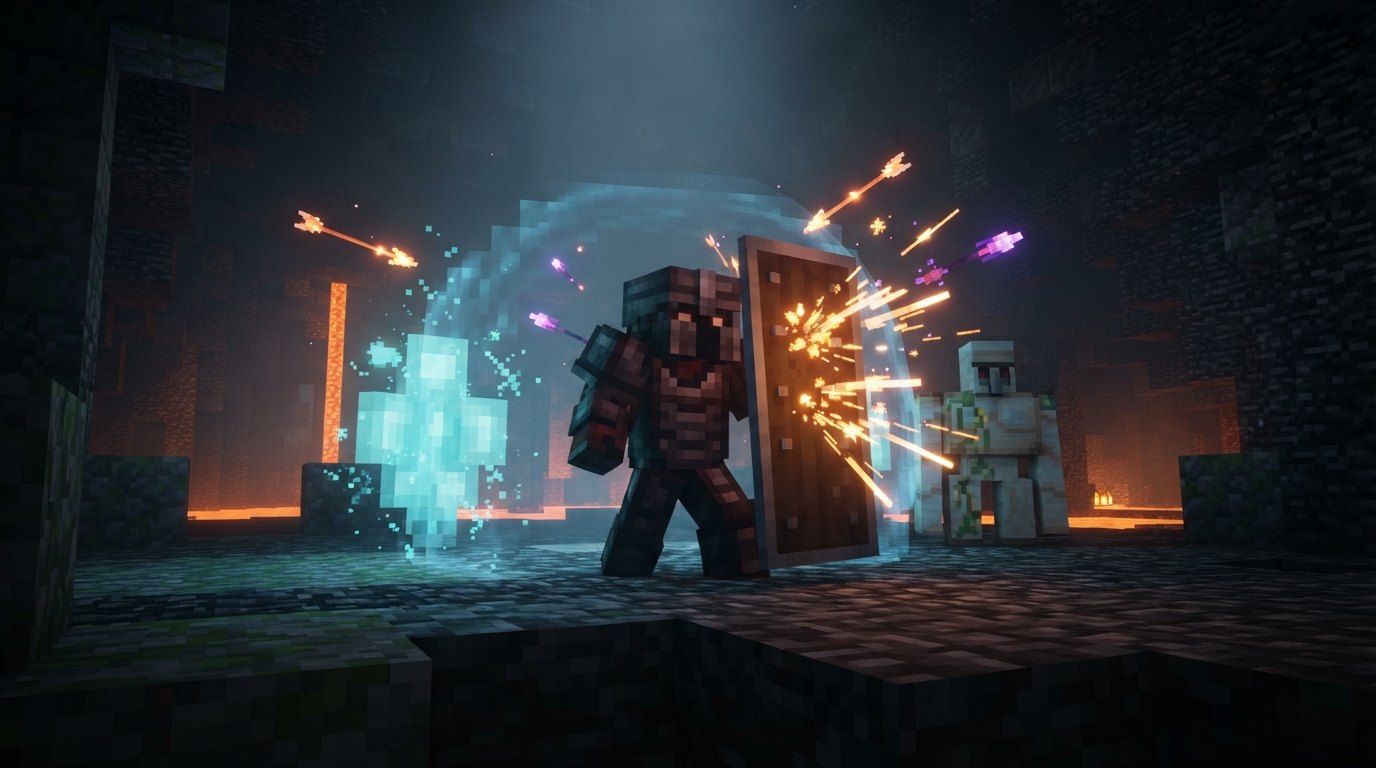
What gear does the Reflect Wall Tank use?
Weapons
 MeleeCacaphonous CleaverUnique
 RangedShooting StarUnique
Armor
 HelmetWoodsprite CrownUnique
 ChestplateTwisted Warden VestUnique
 LeggingsWoodsprite TrunksUnique
 BootsMad Sifter PawsUnique
Artifacts
 Artifact 1Warding Chimes
 Artifact 2Totem of Shielding
 Artifact 3Totem of Regeneration
Talismans
- Talisman 1Golem KitCommon
 Talisman 2Healing HeartCommon
- Talisman 3Sigil of BeeswaxCommon
Enchantments
 EnchantHealth Synergy
 EnchantBarrier Brew
 EnchantAncient Alchemy
 EnchantShadowcloak
| Slot | Item | Role |
|---|---|---|
| Melee | Cacaphonous Cleaver | Each soul heals 7% of max health. Stay in the melee and you stay healthy. |
| Ranged | Shooting Star | A second 20% dodge source, layered on the vest. |
| Helmet | Woodsprite Crown | Keeps the Golem Kit companion alive longer, which extends the wall. |
| Chestplate | Twisted Warden Vest | The evade chance is the wall's first layer, before reflect and the totems come into play. |
| Leggings | Woodsprite Trunks | The core of the build: every hit that lands comes straight back at the attacker. |
| Boots | Mad Sifter Paws | Deflection covers the ranged gap that evade leaves open. |
| Artifact 1 | Warding Chimes (15s cooldown) | Toughens you for a bit. It is not invulnerability. |
| Artifact 2 | Totem of Shielding (15s cooldown) | A barrier that eats projectiles. Plant it near the wall. |
| Artifact 3 | Totem of Regeneration (27s cooldown) | Stand inside its radius so allies and the tank share one recovery zone. |
| Talisman 1 | Golem Kit | An extra body between you and the enemy line. |
| Talisman 2 | Healing Heart | Recovers you in the quiet moments between pulls, so the wall resets without potions. |
| Talisman 3 | Sigil of Beeswax | The plainest tank stat, and it makes every other defense last longer. |
| Enchant (Armor) | Health Synergy | Each artifact use is also a heal, so the rotation doubles as recovery. |
| Enchant (Armor) | Barrier Brew | The Fortifying well gives the whole group a defensive edge, so drink one as the boss winds up. |
| Enchant (Armor) | Ancient Alchemy | Potions do double duty: they heal and feed the soul bar, even at full health. |
| Enchant (Melee weapon) | Shadowcloak | Kills may turn you invisible, which resets a bad fight. |
How strong is the Reflect Wall Tank?
Why this grade: The defensive pieces are strong on paper, but no player has stress-tested them, and there is no confirmed taunt to hold attention. That keeps it at B until launch play confirms the numbers.
| Axis | Score | Pts | Main sources |
|---|---|---|---|
| Damage | 1 / 5 | 0 | Nothing in this loadout |
| Crowd control | 1 / 5 | 0 | Nothing in this loadout |
| Survivability | 5 / 5 | 21 | Cacaphonous Cleaver, Twisted Warden Vest, Woodsprite Trunks |
| Mobility | 1 / 5 | 0 | Nothing in this loadout |
| Team support | 3 / 5 | 6 | Totem of Regeneration, Woodsprite Crown, Totem of Shielding |
What does a fight look like with the Reflect Wall Tank?
Immovable front line. You stand where the enemies are and let evasion, deflection and reflect do the work, with totems and a soul-fed heal filling the gaps.
- Place the totems firstPut Totem of Shielding between you and the ranged enemies, then drop Totem of Regeneration behind you. Both are placed effects, so plant them before the pull.
- Hit the pack and stand thereWalk into melee and stay put. Evade, reflect and deflect are passive, so your job is to be the thing they hit.
- Warding Chimes on big hitsUse the chimes when a boss winds up or a group commits. It toughens you, so time it to the biggest incoming damage.
- Every cooldown healsHealth Synergy turns each artifact use into regeneration, so rotate the three artifacts even when they are not strictly needed.
- Reset with a killIf a fight is going badly, kill something to try for Shadowcloak, and drink a potion to gain souls and heal at once.
What are the Reflect Wall Tank's strengths and weak spots?
Strengths
- Three separate defensive layers: evade, deflect and reflect
- Heals on kills, potions and artifact use
- Protects a whole group with placed totems
- Good against bosses that hit hard in melee
Weaknesses
- No confirmed taunt, so enemies may attack your allies
- Low damage output, so fights run long
- Poison damage bypasses evade and deflect
Does the Reflect Wall Tank earn a spot in a party?
Front-line anchor. Take the boss's attention by standing closest and let teammates work from the side. Pairs well with a support player who can stack extra healing.
Which cheap gear stands in for the Reflect Wall Tank early?
| Slot | Early pick | Later | Why |
|---|---|---|---|
| Chestplate | Protector Chestplate | Twisted Warden Vest | Protector pieces are plain armor available early and set the tank tone. |
| Artifact | Warding Chimes | Totem of Shielding | Chimes is the simple self-buff. Add totems as they drop. |
| Talisman | Sigil of Beeswax | Golem Kit | Max health first, golem later. |
Common questions on the Reflect Wall Tank
Does Reflect actually return all damage?
The listed effect says 100% of damage taken is reflected at attackers. We have not confirmed whether that covers every damage type, so treat it as strong but unproven.
Can a tank pull enemy attention in co-op?
No taunt is confirmed. Position yourself as the nearest target and rely on passive defenses.
Is poison a problem for this build?
Yes. Players call it the most brutal thing in the early game, and evade and deflect do not stop it. Bring a potion.
What is still unconfirmed on the Reflect Wall Tank?
- The 100% reflect on Woodsprite Trunks is a listed launch-data value and has not been tested against bosses.
- Warding Chimes' exact defensive value is not published.
What to open next after the Reflect Wall Tank
- Read the reflect and evade pieces in the gear database
- Plan Health Synergy and Shadowcloak at the Enchantsmith
- Start with Warding Chimes from the early artifacts guide
- Stack the defenses in the Build Lab
- See how defensive gear ranks on the tier list
- Test the wall against the Copper Monstrosity
Related builds
Sources: Minecraft.net: gameplay systems.