
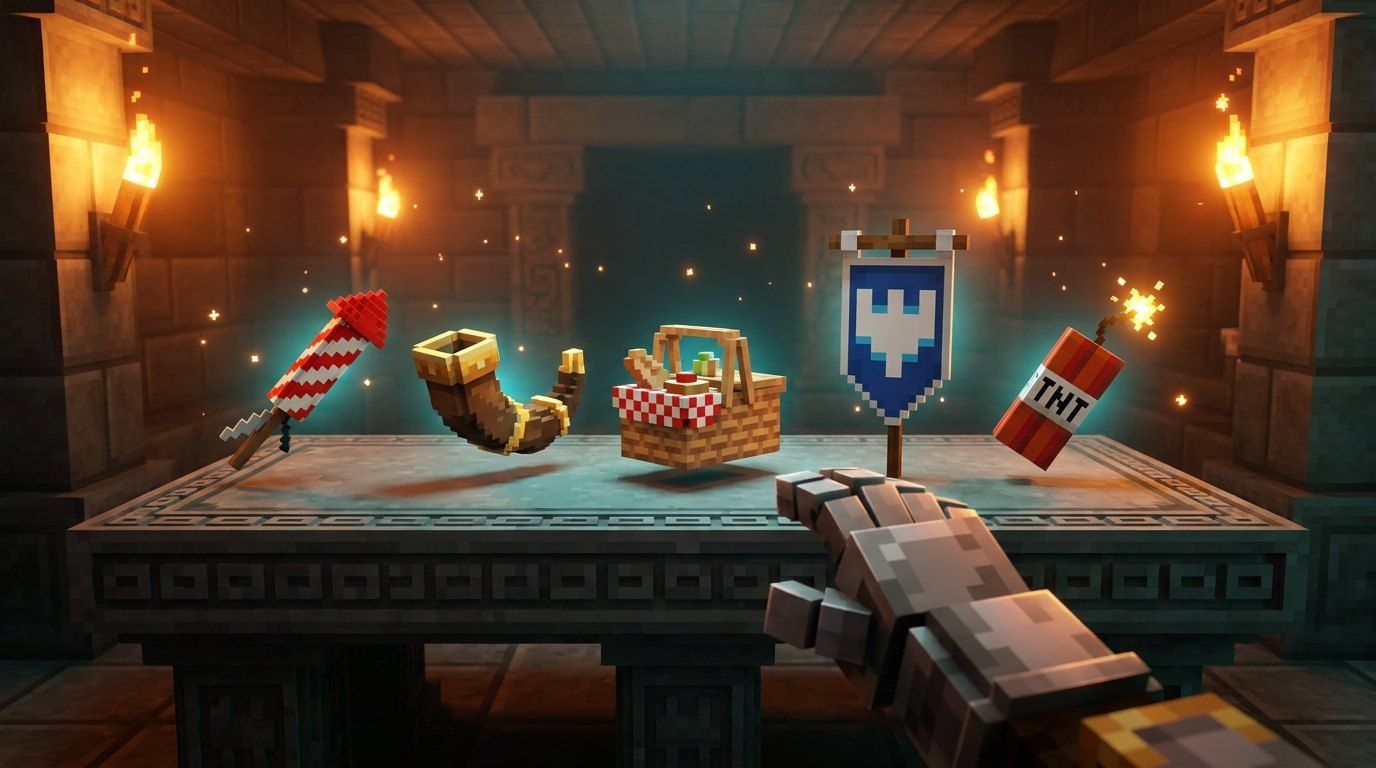
The best artifacts in Minecraft Dungeons 2 are Death Cap Mushroom, Fighter’s Flute and Firework Arrow, and most players who run Firework Arrow also bring the Humbling Horn. Our data lists 37 artifacts, and 27 of them have a full Soul cost and cooldown.
| Pick | Why | Souls / cooldown |
|---|---|---|
| Firework Arrow | Rocket from your bow, safe range | 20 / 5s |
| Humbling Horn | Knocks a crowd down | Not listed |
| Fighter’s Flute | Every hit is a crit while active | 45 / 5s |
| Warrior Drums | Crits do double damage | 45 / 5s |
| Banner | Strength for allies in a circle | 45 / 10s |
Which artifacts should you use early on?
Artifacts are the active abilities. They spend souls and sit on a cooldown, unlike talismans, which stay on all the time. Players keep reaching for the rocket, the horn, a basket or banner in co-op, and Creeper Candle from a quest.
Firework Arrow is the one everybody mentions. Pair it with the horn: the horn knocks the pack down, and rockets land while they are stuck. Both work at range, which matters against the blue empowered mobs that shrug off melee. Our poison and empowered mobs guide explains why range wins those fights.
Equip the rocket in your first slot and fire it from the bow. Arrows recharge on their own, and a starter bow holds 15, so you are not rationing shots.
When does the second artifact slot unlock?
After the lost-merchant quest in Howling Woods. Until then you have one slot, and the rocket sits there fine. Players put the second slot around hero level 5, and the campaign walkthrough shows where the quest falls in the region order. The third slot is reported at level 10.
What does every artifact do?
Sorted by tier, top picks first. Cost and cooldown come from launch-week catalog data, and “not listed” means the number is missing, not zero. The gear database has the same data with icons.
| Artifact | Role | Souls / cooldown | Effect | Tier |
|---|---|---|---|---|
| Death Cap Mushroom | Damage | 20 / 4s | Berserk: quicker swings and running | S |
| Fighter’s Flute | Damage | 45 / 5s | Every hit lands as a crit | S |
| Firework Arrow | Damage | 20 / 5s | Bow rocket with a blast | S |
| Banner | Support | 45 / 10s | Allies in the ring gain Strength | A |
| Blight Bangle | Damage | 35 / 6s | Attacks carry poison | A |
| Corrupted Seeds | Control | 20 / 5s | Vines root and poison a crowd | A |
| Electric Bangle | Control | 35 / 6s | Weapon shocks and stuns briefly | A |
| Humbling Horn | Control | Not listed yet | Blast that topples crowds | A |
| Totem of Regeneration | Support | 65 / 27s | Totem heals allies nearby | A |
| Warrior Drums | Damage | 45 / 5s | Crits do x2 while playing | A |
| Blaze Bangle | Damage | 35 / 6s | Attacks burn targets | B |
| Cinder Scepter | Damage | 25 / 5s | Charge up, release soul fire | B |
| Conductive Quiver | Damage | 20 / 5s | Arrows summon lightning strikes | B |
| Creeper Candle | Damage | 25 / 5s | Candle explodes after a short wait | B |
| Ender Fog | Mobility | 20 / 5s | Smoke cover to close distance | B |
| Flaming Quiver | Damage | 20 / 5s | Arrows ignite targets | B |
| Honey Dipper | Control | Not listed yet | Honey puddle plus bees | B |
| Pouch of Frost | Control | 40 / 5s | Toss for a freezing zone | B |
| Pouch of Thunder | Damage | 40 / 5s | Toss for a shocking zone | B |
| Redstone Mine Launcher | Damage | 40 / 5s | Fires a spread of mines | B |
| Soul Harvester | Damage | 15 / 5s | Charge, then hex enemies | B |
| Tempo Truffle | Mobility | 20 / 5s | Quick sprint boost | B |
| Totem of Casting | Support | 30 / 15s | Totem trims ally cooldowns | B |
| Totem of Shielding | Defense | 30 / 15s | Totem blocks incoming projectiles | B |
| Venomous Quiver | Damage | 20 / 5s | Arrows apply poison | B |
| Warding Chimes | Defense | 40 / 15s | Tougher while the chimes ring | B |
| Winter Staff | Control | 15 / 5s | Soul blizzard on enemies | B |
| Picnic Basket | Support | 15 / 15s | Food heals the whole team | C |
| Powershaker | Damage | 35 / 16s | Area blast | C |
| Corrupted Beacon | Damage | Not listed yet | Heavy beam, rooted while firing | Unranked |
| Freezing Quiver | Control | Not listed yet | Three frost arrows loaded | Unranked |
| Grindstone | Damage | Not listed yet | Weapon sharpened for extra damage | Unranked |
| Lightning Rod | Damage | Not listed yet | Lightning strikes nearby enemies | Unranked |
| Pouch of Ember | Damage | Not listed yet | Throw for a fire burst | Unranked |
| Turtle Master’s Mandolin | Defense | 20 / not listed | Nearby allies get tougher | Unranked |
| Wind Horn | Control | Not listed yet | Gust that pushes foes | Unranked |
| Witch Brew | Utility | Not listed yet | Throw to leave a purple cloud | Unranked |
Exact stats for every item are in the Gear Database.
Which artifacts pair well together?
Pairings work because one artifact sets up the next, or because two buffs share a window.
| Pairing | Why it works | Build that runs it |
|---|---|---|
| Fighter’s Flute and Warrior Drums | The flute makes every hit a crit and the drums double crit damage. Both cost 45 souls on a 5s cooldown. | Jump-Attack Crit Bruiser |
| Firework Arrow and Humbling Horn | Knock down, then explode. | Rocket and Horn Controller |
| Banner and Totem of Regeneration | Strength and healing in one spot. Park your group inside the circle. | Banner and Basket Support |
| Warding Chimes and Totem of Shielding | A toughness buff plus a projectile barrier. | Reflect Wall Tank |
| Conductive Quiver, Venomous Quiver and Tempo Truffle | Arrow effects with a speed boost for repositioning. | Roll-and-Shoot Kiter |
| Soul Harvester, Cinder Scepter and Winter Staff | Three cheap casts, 15 to 25 souls each. | Ranged Soul Caster |
For artifact-heavy kits, armor matters as much as the artifacts. Oracle Tights give 30% shorter artifact cooldowns and Mad Sifter Vest gives 25% more artifact damage, and our armor sets guide covers both.
Which combos are worth trying early?
- Rocket and Horn is the default recommendation.
- Banner with a melee weapon strengthens friends’ swings, so it suits a tank in the group.
- Honey Dipper with anything ranged: the bees slow a target while you shoot it.
- Basket before a hard boss phase, not during it. Players call its 15s cooldown slow, which is why it sits at C tier.
For weapon pairings, the build plans guide has three shapes to start from.
Does TNT hurt your teammates?
Yes. TNT is the one source of friendly fire in the game, according to a developer, so throw it when friends are out of the blast. Groups call “fire in the hole” before each throw. If you are new to a party, hold TNT until you know where everyone stands.
Quick checklist for your first hour
- Equip Firework Arrow first.
- Finish the lost-merchant quest for slot two.
- Add Humbling Horn as your second artifact.
- Swap in the Basket or Banner once you group up.
Key takeaways
- You get three artifact slots: one early, the second after the lost-merchant quest.
- Death Cap Mushroom costs 20 souls on a 4s cooldown and sits in S tier.
- Fighter’s Flute and Warrior Drums each cost 45 souls on a 5s cooldown.
- Totem of Regeneration is the priciest at 65 souls and a 27s cooldown.
- Picnic Basket costs 15 souls with a 15s cooldown, the longest wait of the cheap picks.
- Artifacts count toward item power, so an empty slot costs you.
Quick FAQ
Which artifact is strongest? Death Cap Mushroom and Fighter’s Flute lead our tier list. Firework Arrow is the safe early pick.
How many artifacts can you equip? Three. They sit apart from talisman and armor slots.
Do artifacts have cooldowns? Yes, and each costs souls. Soul Reaper and Alchemist Loafers help keep the soul bar full.
Not confirmed yet
- Souls and cooldown are missing for Humbling Horn, Grindstone, Honey Dipper, Lightning Rod, Pouch of Ember, Wind Horn, Witch Brew and Freezing Quiver, plus one more marked in the table. Turtle Master’s Mandolin has a cost but no cooldown.
- Echo Ocarina (40 souls, 10s) comes from a press guide and has no listed effect yet.
- Power of Frost appeared in previews and may be an early name for Pouch of Frost.
- TNT is not in our item data, so its cost and cooldown are unknown.
- Third slot level (10) is a player report.
- Humbling Horn’s scaling by level has not been documented.