
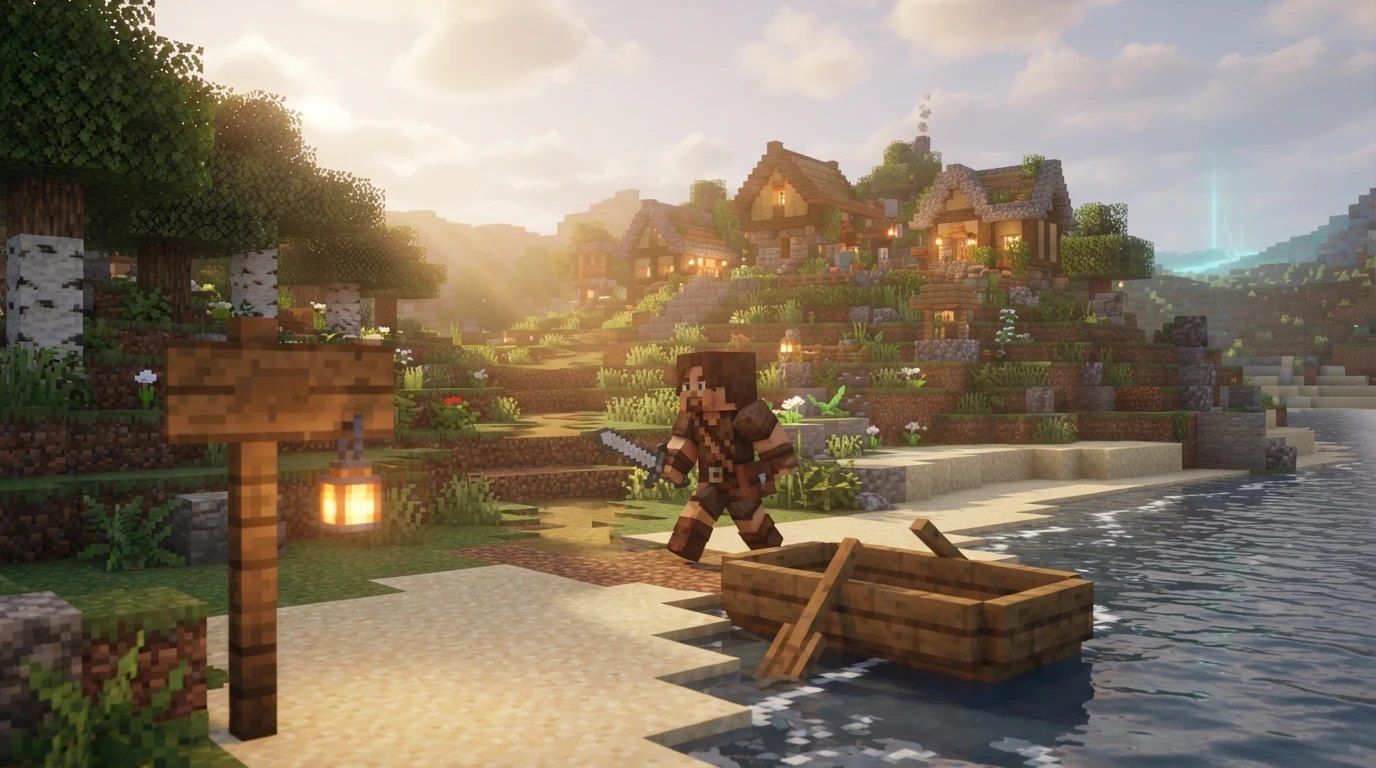
To start Minecraft Dungeons 2: make an online hero, clear the short Squid Coast tutorial, walk into Brave Haven, and from there the open world is yours. This beginner guide covers your first hour, the core actions, combat habits, the screen, what unlocks when, and which difficulty to pick. Anything that only one early player reported sits at the end under “Not confirmed yet”.
Checked in-game on October 1, 2026.
| Question | Short answer |
|---|---|
| Online or offline hero? | Online. You can still play solo and later carry the hero into other worlds |
| Where does it start? | Escape from Squid Coast tutorial, then Brave Haven (about 15 minutes in) |
| First unlock to chase? | The Town Merchant, through The Lost Merchant quest |
| Safest way to fight? | Ranged, from high ground, with the potion ready |
| Difficulty? | Normal, or Easy if you want a gentler first hour |
| Where next? | Beginner tips, then the campaign walkthrough |
What should you do in your first hour?
Work through this list in order. It matches how the opening quests chain together.
- Create your hero. Choose online or offline. An online hero still plays single player, and it is the one that can join other players’ worlds with its gear. An offline hero keeps everything offline apart from couch co-op. Our settings and offline mode guide has the trade-offs. You can make several heroes, and each acts as its own save file.
- Finish Escape from Squid Coast. This is the tutorial level. It is short and a little linear, and it teaches movement, combat and the hot bar. When it ends, the world opens up.
- Reach Brave Haven. This is your hub village. Several chests sit around the small island it starts on, and a few are easy to miss, so look around before you leave.
- Ride from Haven Station. The first minecart stop gives you fast travel. More stations unlock as you explore, and you can jump between them from the world map.
- Take The Illagers from the Rift. It sends you to Honeycomb Fields, then through your first rift into the Sift, to Singer’s Meadow. Clear the ambush there and return to finish the quest. The Sift and Brave Haven page explains the dimension.
- Pick up the side quests that appear. Keeper of the Bees and The Creeper Candle Conspiracy show up right away and pay out early gear. Our power level guide lists the full early route and what the rewards do.
- Finish The Lost Merchant. Talk to the villager by the bridge, walk across Honeycomb Fields to the dusk village and escort him back. This unlocks the Town Merchant and opens the way into Howling Woods. If you die on the way you return to Brave Haven.
How do you play Minecraft Dungeons 2: what are the controls?
Every platform has its own bindings, and the game has a full controls menu, so check it before your first fight. The actions themselves are the same everywhere.
| Core action | What it does |
|---|---|
| Melee attack | Tap to swing; hold to keep a combo going |
| Ranged attack | Fires your bow or crossbow; holding charges a stronger shot on PC |
| Roll | A quick dash forward with a short cooldown shown on the hot bar |
| Jump | New in this game; used for height, secrets and jump attacks |
| Jump attack | Attack in the air to crash down on enemies |
| Artifacts | Three slots, each spending souls and then cooling down |
| Health potion | Heals you, then refills by itself |
| Inventory and map | Quick access to gear and the world map |
On PC you can hold the mouse button and the hero walks toward the cursor. Specific default keys and the controller layouts for each platform are in the “Not confirmed yet” list, because we have not seen an official table for them.
One setting is worth turning on straight away. In the interface options, switch on the mini inventory. A quick tap of the inventory key then opens a short swap list over the action instead of the big screen. The full inventory still does not pause the game, so open it somewhere safe.
What are the combat basics?
Combos. Most weapons chain three hits, and the third swing is usually the heaviest. Players who have tested it note that the last hit often carries the most damage, so finishing a combo beats poking.
Jump attacks. Jumping and then attacking drops you on a group, stuns them and knocks them back. It is not always a damage boost: on some weapons a jump attack hits for less than a normal swing, so treat it as crowd control and positioning first. Jump attacks can also set off weapon enchantments, which is why jump builds exist. See the jump attack bruiser build for one that leans on it.
Roll. Roll through danger rather than away from it. The cooldown shows on the hot bar, so wait for it to clear before wading into a pack.
Ranged. Your ranged shots recharge on their own, so the count above the hot bar is a pace, not a budget. Shoot freely. Standing on a ledge is even better: slow melee mobs have to path around the hill, and you can hit them from above.
Souls. The blue bar opposite your health is souls. They come from kills and they power artifacts, so keep fighting to keep your artifacts ready.
Empowered mobs. Blue, soul-corrupted enemies are tougher than their plain cousins and are a source of echo shards. Read the banner on them before you charge in, and see poison and empowered mobs for how to beat them.
Ambushes. Entrances and exits seal and you must clear everyone. Arrive at full health, and watch the map: a closed-in pocket of ground is often the clue.
How do you read the HUD and inventory?
Along the bottom you will see health, the potion, three artifact slots, the roll icon, your souls bar and an XP bar. The inventory shows two numbers that beginners mix up: your hero level (from XP) and your item power (from gear). They move separately, and an empty gear slot pulls item power down, so keep every slot filled. The power level guide breaks both down.
There are three currencies: emeralds for buying gear, echo shards for levelling the merchant and for later gear work, and enchantment points for enchants. Emeralds cap at 9,999 and echo shards at 100, so spend before you reach either. Salvaging old gear gives emeralds back, and there is an undo button if you salvage something by mistake.
What unlocks when?
| Unlock | How | What it gives |
|---|---|---|
| Town Merchant | Finish The Lost Merchant | Buy gear with emeralds, level with echo shards |
| Enchantsmith | Finish Training with the Enchantsmith | Apply enchantment books from your library |
| Blacksmith | Finish The Missing Note Blocks | Upgrade gear and re-roll abilities |
| Second artifact slot | Hero level 5 | Another artifact on your bar |
| Third artifact slot | Hero level 10 | Full three-artifact bar |
| Talismans | Side quests and later core quests | Passive bonuses, three equipped at a time, level to 3 with use |
The order is merchant, then Enchantsmith, then Blacksmith. The Town Merchant restocks by itself every 30 minutes, and a manual refresh costs 3 echo shards. Do the main quests before you wander too far, because the Enchantsmith is the one that makes your enchantment books useful. Our enchanting guide takes it from there, and the secret talismans guide covers where talismans hide.
Which difficulty should you pick?
Pick Easy, Normal or Hard. There are no threat levels to manage, and you can change the setting later, so a wrong choice costs you nothing.
- Easy if you are new to action RPGs or playing with a child. Fights are forgiving and you can still finish the campaign.
- Normal if you want the intended experience, especially if you played the first game. Some players say Uniques only show up in random loot from Normal up, while others report plenty of rares on Easy, so this one is still being checked.
- Hard if you want pressure from the start. Switch up once you have a full set of gear and a build that survives ambushes.
What feels strong early?
Early-access players who tested a lot of gear agree on a few patterns. These are about the early and mid game, not final numbers, and some are marked as still unverified below.
- Weapons. Fast weapons pair well with a support enchant. Heavy hammers and the Claymore are praised for big damage, and the Warhammer is called the strongest common melee. Players who like jumping rate the Mace for jump attacks. Our tier list and builds pages show what we recommend today.
- Enchant. Lightning Surge is the pick most players name first. It fires a wave at the end of a combo or after a jump attack.
- Artifacts. Turtle Master’s Mandolin is cheap and gives resistance. Picnic Basket is a cheap heal that does the job early. See early game artifacts for more.
- Talismans. Fist of Iron adds melee damage and Twisted Tooth adds souls gained. Both level up the longer you wear them.
- Potions and souls. Players lean on potion cooldown reductions and soul-gain bonuses, since both make artifacts available more often.
The idea behind all of it is simple: keep artifacts ready, keep a potion ready, and let a wave enchant do some of the work.
Where should you go next?
- Beginner tips: secret chests, dismantling, re-rolls and boss rematches.
- Campaign walkthrough: region by region through the story.
- Farming guide: XP, echo shards and Uniques.
- Soul Storms: the endgame activity and its rewards.
- Enchanting guide: books, the library and the Enchantsmith.
- Secret talismans: where the passive charms hide.
Quick FAQ
What should a new player do first? Make an online hero, clear the tutorial and reach Brave Haven. Then follow the quest chain to The Lost Merchant.
Can I play Minecraft Dungeons 2 solo? Yes. An online hero still plays solo, and offline heroes only keep couch co-op.
Do I need to conserve arrows or potions? No. Ranged shots recharge and the potion refills after use.
Do I lose gear when I die? Players report you keep your gear. Mobs respawn though, and an unfinished fight resets.
Does the game pause in the inventory? No. Open it somewhere safe or use the mini inventory.
Not confirmed yet
- Default PC key bindings and the controller layouts for each platform. One early player named defaults for the potion, inventory, map, ranged and a jump slam, but we have not seen an official table, so we are not listing buttons.
- Whether jump slam has its own dedicated key or is a jump followed by the attack.
- Exact weapon damage figures for the weapons named above. They come from early tests at one high level and may change.